The Pre-Diabetes Diet Plan WIC

The Pre-Diabetes Diet Plan

July 30, 2025 Women

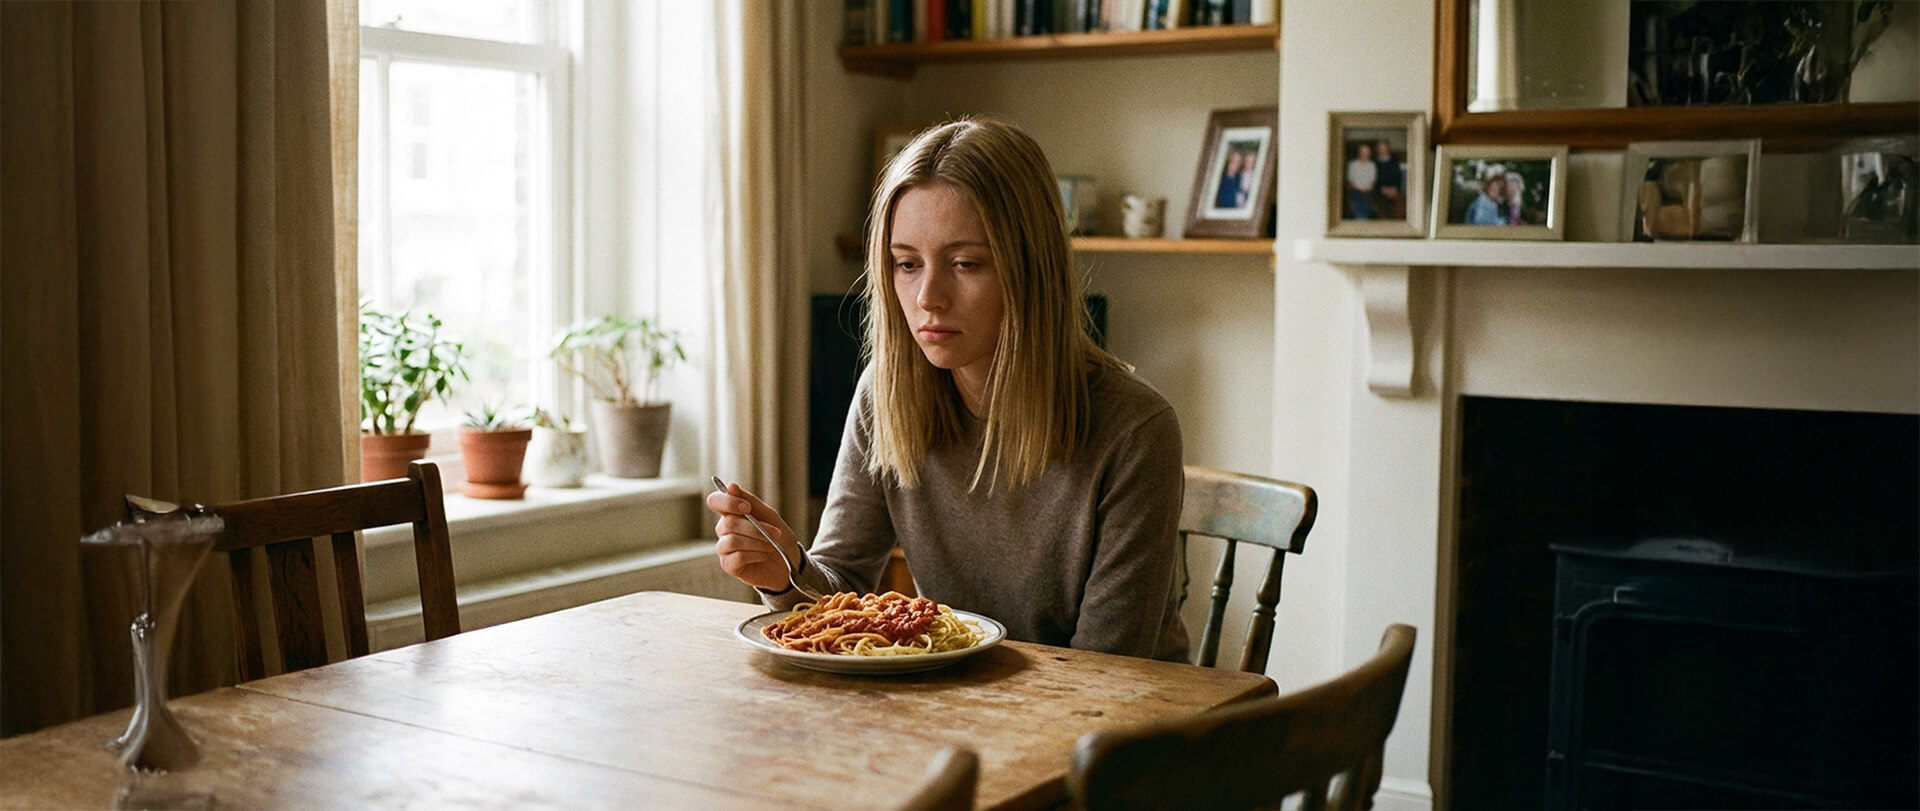
sofia's story Sofia’s Story
woman-at-doctors

Sofia wanted to have another baby.

But her doctor said she had pre-diabetes—and it could turn into diabetes if she didn’t make some changes.

She knew that because she had gestational diabetes (diabetes during pregnancy) when she had her son, this meant she had a higher chance of getting diabetes later in life.

Sofia didn’t give up—she got help and made a plan.
You can too! 

pre diabetes What Is Pre-Diabetes?

Pre-diabetes means your blood sugar is a little too high.

It’s not diabetes yet, but it can turn into diabetes if no action is taken.

Doctors use these numbers to check:

Fasting blood sugar: 100–125
Hemoglobin A1C: 5.7–6.4
If the numbers go higher, it’s called diabetes.
what can help What Can Help?

You can often reverse pre-diabetes with:

fruit-basket-icon
Healthy eating
shoose-icon
Regular exercise
time-icon
Losing weight

(if needed)

Sofia had a hard time losing baby weight. Her son was already 3 years old, and nothing had worked. So, she talked to her WIC nutritionist who shared these tips:

Eat more vegetables.

Choose non-starchy ones like carrots, cabbage, green beans, and broccoli.

Eat fewer starchy foods.

Cut back on potatoes, corn, white rice, and white bread. Choose whole grains instead.

Skip fried and fatty foods.

Avoid things like chips, fast food, and packaged snacks.

Cut back on sugar.

Drink water instead of soda or sweet drinks.

Move more.

Try to get at least 30 minutes of activity most days. Walking, dancing, swimming, and playing outside all count!

Eat slowly.

It takes 20 minutes for your brain to know you’re full!

Use the plate method.

This way of eating is a lot like the Mediterranean Diet, which helps people stay healthy and feel full longer.

Use the plate method

Fill half your plate with non-starchy veggies
Examples:
Green beans, carrots, or cabbage.

Add a small portion of a starchy food
Examples:
Brown rice, sweet potato, a corn tortilla, or a piece of fruit.

Add a small portion of protein
Examples:
Chicken, eggs, or beans.

Plate Listing
glass-svg-icon
Add a glass of water or low-fat milk.
mom-with-son-in-park
Made it work How Sofia Made It Work

Sofia was busy—working part-time and chasing a toddler—but she made a plan.

Sofia made it work by:

Her Big Win Her Big Win

After 3 months, Sofia lost 15 pounds!
She felt more energy and could move easier. She didn’t breathe as heavily while walking and could bend down more easily to pick up toys. She was also proud to be a healthy role model for her son.

After 6 months, she had lost 27 pounds—and her blood sugar was back to normal!

Then, even more great news: she got pregnant again! She kept up her healthy habits, and when her doctor checked her blood sugar at 24 weeks, she did not have gestational diabetes! Sofia was proud of the positive changes she made—and you can be too.

Mom-and-Son-in-Park
Lern More Want to Learn More?

Check out these helpful resources:

flower-print-svg

REFERENCES:

Side-Lying Hold

  1. For the right breast, lie on your right side with your baby facing you.
  2. Pull your baby close. Your baby’s mouth should be level with your nipple.
  3. In this position, you can cradle your baby’s back with your left arm and support yourself with your right arm and/or pillows.
  4. Keep loose clothing and bedding away from your baby.
  5. Reverse for the left breast.

This hold is useful when:

Cross-Cradle Hold

  1. For the right breast, use your left arm to hold your baby’s head at your right breast and baby’s body toward your left side. A pillow across your lap can help support your left arm.
  2. Gently place your left hand behind your baby’s ears and neck, with your thumb and index finger behind each ear and your palm between baby’s shoulder blades. Turn your baby’s body toward yours so your tummies are touching.
  3. Hold your breast as if you are squeezing a sandwich. To protect your back, avoid leaning down to your baby. Instead, bring your baby to you.
  4. As your baby’s mouth opens, push gently with your left palm on baby’s head to help them latch on. Make sure you keep your fingers out of the way.
  5. Reverse for the left breast.

This hold is useful when:

Clutch or “Football” Hold

  1. For the right breast, hold your baby level, facing up, at your right side.
  2. Put your baby’s head near your right nipple and support their back and legs under your right arm.
  3. Hold the base of your baby’s head with your right palm. A pillow underneath your right arm can help support your baby’s weight.
  4. To protect your back, avoid leaning down to your baby. Bring baby to you instead.
  5. Reverse for the left breast.

This hold is useful when:

Cradle Hold

  1. For the right breast, cradle your baby with your right arm. Your baby will be on their left side across your lap, facing you at nipple level.
  2. Your baby’s head will rest on your right forearm with your baby’s back along your inner arm and palm.
  3. Turn your baby’s tummy toward your tummy. Your left hand is free to support your breast, if needed. Pillows can help support your arm and elbow.
  4. To protect your back, avoid leaning down to your baby. Instead, bring your baby to you.
  5. Reverse for the left breast.

This hold is useful when:

Laid-Back Hold

  1. Lean back on a pillow with your baby’s tummy touching yours and their head at breast level. Some moms find that sitting up nearly straight works well. Others prefer to lean back and lie almost flat.
  2. You can place your baby’s cheek near your breast, or you may want to use one hand to hold your breast near your baby. It’s up to you and what you think feels best.
  3. Your baby will naturally find your nipple, latch, and begin to suckle.

This hold is useful when: